Raised Beds 101
- Lori Nature
- Oct 3, 2024
- 6 min read
Updated: Oct 9, 2024

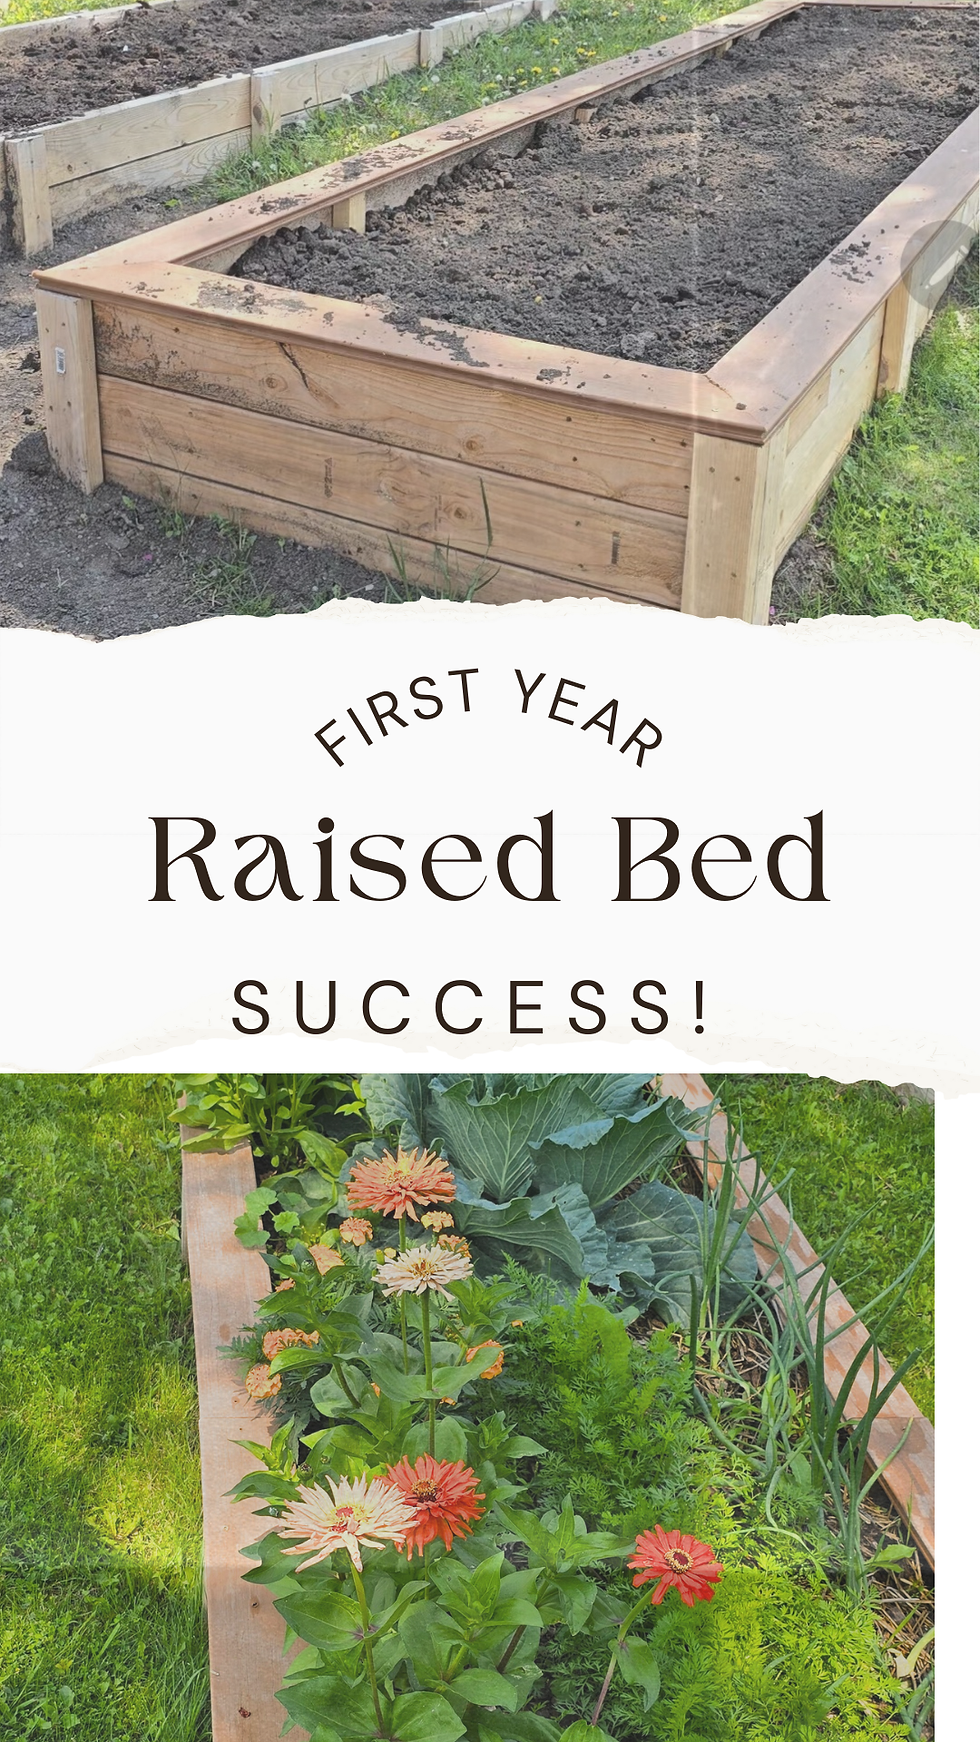
First off, let me say this loud and clear: You can absolutely do this! Gardening isn’t as hard as it might seem, and I’ve helped plenty of people create productive raised beds in their very first year. The rewards from just a few (or even one!) raised bed are tremendous.
The key is to start strong with good preparation and setup. If you get your garden off on the right foot—or even just close enough—you’ll be amazed at how little maintenance it needs throughout the season. I’m all about minimizing time spent weeding and watering so let’s set things up to work smarter, not harder!
Why Raised Beds?
I've tried gardening in almost every way imaginable—directly in the ground, containers, and raised beds. I've worked with rich, fertile soil, struggled with rocky mountain shale, and battled dry, arid climates. But through all these experiences, one method consistently stands out: raised bed gardening.
Why are raised beds my go-to? For starters, they’re easier on your back, making planting, weeding, and watering more comfortable. They also give you more control over your soil, which is a game-changer in challenging climates. Plus, raised beds warm up faster in the spring, giving your plants a head start on the growing season.
Types of Beds
I’ve tried several types of raised beds over the years. Right now, we have beautiful wood beds, and while they look great and do a good job insulating the soil, I know they won’t last forever. Wood adds a nice, natural touch, but metal beds are gaining popularity for a reason—they’re easy to assemble and built to last. They do come with a higher price tag than a DIY wood option, so it’s worth weighing the pros and cons based on what you need for your garden.
Wooden Raised Beds
Pro: Wooden raised beds bring a natural, rustic charm to your garden and offer excellent insulation, keeping soil temperatures steady, which is great for plant health. They’re also relatively easy to customize in size and shape, making them versatile for different garden layouts. Aesthetically, wood blends nicely into gardens, I like this brand because they are cedar,sturdy and gorgeous.
If you want to build your own, here's a great blog post about it (not mine).
Con: On the downside, wood is susceptible to rot and decay, particularly in wetter climates, so they may need more frequent maintenance or replacement. Additionally, depending on the type of wood you choose, initial costs can add up, especially if you opt for rot-resistant varieties like cedar or redwood.
Metal Raised Beds
Pro: Metal raised beds are incredibly durable, resisting rot, pests, and weather with little to no maintenance. They add a sleek, modern look to your garden and come in a variety of fun colors and shapes. Some brands even offer insulated options that solve the issue of metal beds heating up in direct sunlight, making them a great long-term investment. This particular brand is beautiful and has insulation to solve the over-heating issue.
Con: However, metal raised beds can be more expensive upfront compared to other options, and without proper insulation, they may retain too much heat in hot climates, potentially stressing plant roots. It's important to consider these factors before choosing metal beds, especially if you’re gardening in areas with extreme temperatures.
Choose Organic
First things first, organic gardening is the best method. Period. Organic gardening emphasizes working with nature rather than against it. So we are going to fill our beds with organic materials and avoid synthetic chemicals, pesticides, and fertilizers, which can harm the environment and your health. For a seed company that is NOT GMO, Try Seeds Now. They have great prices and are owned by a family, not a giant conglomerate like Monsatan.
Location, location...
You need to find a sunny spot in your yard. Pick an area that gets at least 6-8 hours of sunlight daily. Avoid areas with poor drainage or heavy shade, as most vegetables need plenty of light to thrive. Some plants can tolerate a bit of shade, especially if you live in a hot climate.
Start Making Your Dirt Lasagna
Think of the foundation of your garden like a lasagna, you want to layer different organic ingredients to give your plants the perfect gourmet dinner. Here's the link to the classic Lasagna Gardening book
After you fill your beds, the worms will race to your garden to chomp down all the layers and turn it into a more usable soil (compost) that your plants can "eat".
Step 1: Begin with the Base Layer
The base layer in your raised bed serves as a foundation that allows for proper drainage while retaining moisture. Here’s what you should use:
Cardboard : Start by lining the bottom of your raised bed with cardboard. This helps suppress weeds and breaks down over time, adding organic matter to the soil. You can also use permeable landscape fabric, but that will prevent worms from getting into your bed. You can add worms if you use fabric because you definitely want worms!
Coarse Organic Materials: Add a layer of coarse organic material such as small logs, wood chips or branches at the bottom. This layer improves drainage and encourages beneficial organisms like earthworms. These materials break down over time and feed the beneficial microbes and fungi. This also cuts the expense of filling your beds because you won't need so much soil and compost.
Step 2: Add Organic Matter
Organic matter is the key to healthy raised bed soil, providing nutrients and retaining moisture. Use well-aged compost from kitchen scraps, yard waste, or manure. I prefer horse or rabbit manure for its nutrient boost. Just make sure your compost is fully broken down and looks like soil—fresh manure can burn your plants. You can purchase compost at gardens centers or online.
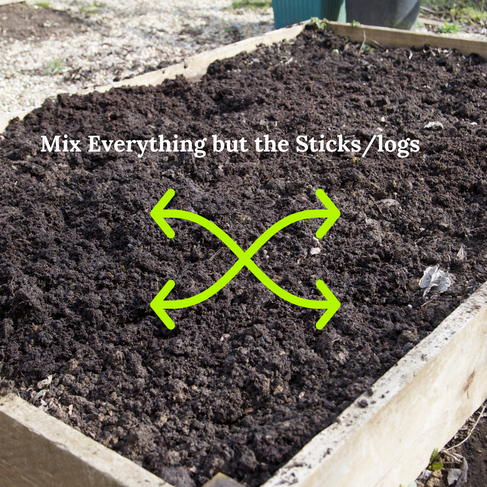
Compost: The most critical component of your soil mix, compost provides nutrients, improves soil structure, and promotes microbial activity. Aim to fill about 40-50% of your raised bed with compost. Some people use less but I've found this ratio to be the best for getting results quickly. For maximum impact without chemicals, Worm Castings and Compost are your garden’s best friends. I usually use 1 part compost to 2 parts soil. Sometimes more if the soil isn't great.
Chopped leaves or seed-free straw. This gives the worms food to eat, which then turns into worm poop (castings) which really make your plants grow! Worm castings is probably their favorite food. Leaves also add important nutrients. I simply rake my fall leaves and run over them with a lawn mower to get a good consistency. I do this every year for my raised beds. Straw can be used if you don't have leaves.
Step 3: Add Soil
Soil can vary a lot, even from one neighborhood to the next. The easiest way to find good soil is to ask local landscapers or garden centers—they can point you in the right direction. For smaller beds, bagged soil from a home improvement store works just fine. If you want to be certain about your soil type, consider getting a soil test for accurate recommendations.
Garden Soil or Topsoil: High-quality garden soil or topsoil should make up about 30-40% of your raised bed’s soil mix. Avoid soil that is heavy in clay or sand; instead, use a loamy soil that balances moisture retention with drainage. You can buy bags of soil at nursery's or home improvement stores or order it from a landscape company.
Step 4: Add Amendments
One of the biggest mistakes I see with raised beds is people skipping this step. Adding the right amendments is crucial when prepping your garden beds. While I’m usually a minimalist with soil additions, these two are non-negotiable for me. I’ve used them in different regions, and they’ve consistently revived depleted soils. Most soils need a little boost to get back to full health.
Minerals: AZOMITE is a 100% natural mineral powder that replenishes your soil with 67 essential trace minerals, giving your plants the boost they need to thrive. Think of it as a multivitamin for your garden—strengthening root systems, increasing yields, and promoting overall plant health. Even if your soil has seen better days, AZOMITE helps restore its vitality and supports healthier, more resilient plants.
Gaia Green is my all-time favorite because it uses natural ingredients instead of synthetic chemicals. I’ve mixed it into the soil and side-dressed plants with great results. After trying many natural fertilizers, this one has outperformed them all—it’s been worth every penny.
Step 5: Plant and Mulch
Now that your raised bed is ready, it’s time to decide whether you’ll use seeds (non-GMO source), plants, or a mix of both. Raised beds are perfect for intensive planting, which means you can pack more into a smaller space. Just be sure to think about spacing—too close, and your plants might struggle for air and light. I like to sketch out a simple planting plan to keep things organized and ensure everything fits. If you like apps, this one is fun for planning a garden.
After planting, give your bed a good, deep watering to help those roots settle in. Then, add a nice layer of mulch. Trust me, mulch is a absolutely essential, it keeps the soil moist, blocks out weeds, and makes your summer garden chores a whole lot easier. It’s like giving your garden a protective blanket, helping your plants thrive with less effort from you.
Mulch can be wood chips (best in my opinion), Leaves or straw. Never use mulch that won't break down (like playground mulch). Whatever you put in your beds needs to be able to breakdown and enrich the soil.


Comments